


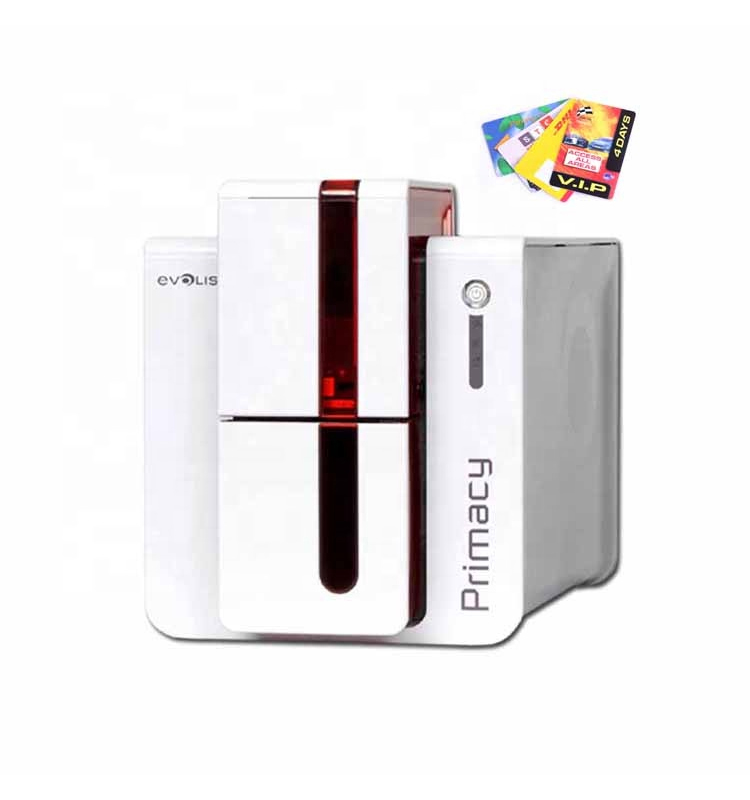
The Evolis Primacy card printer is renowned for its speed, versatility, and print quality, making it an excellent choice for businesses or individuals who need professional-grade card printing. Whether you’re designing membership cards, ID cards, loyalty cards, or event passes, this printer meets various needs quickly. Setting up your Evolis Primacy card printer for the first time is essential to start producing high-quality, durable cards promptly and efficiently. This guide will walk you through each step of the setup process, ensuringyou’ree up and running with your Evolis Primacy card printer quickly and correctly. From unboxing and installing drivers to performing test prints and regular maintenance, we’ll cover all the necessary steps to ensure your printer performs at its best and gives you best-in-class results.
Unboxing and checking for shipping damage
Before starting the setup process, it’s essential to carefully unbox your Evolis Primacy card printer and prepare it for installation. Proper handling at this stage ensures the printer is in perfect working condition and prevents potential issues.
Start by unpacking all components from the box, typically including the printer itself, a power cable, a USB connection cable, a cleaning kit, and a sample pack of cards. Take extra care when removing the printer to avoid any damage. Set up the printer on a clean, flat surface with ample space to allow easy access to the card feeder, the ribbon compartment, and the control panel. Make sure that the surface is level to avoid card-feeding problems during printing. Next, inspect the printer and the accessories for any shipping damage. If anything is damaged or missing, contact the supplier immediately to resolve the issue. Once you’ve confirmed that everything is intact and there are no visible damages, your Evolis Primacy card printer will be ready for setup. Ensure the printer is placed close to an electrical outlet and within reach of your computer to facilitate easy connections during installation.

Install the necessary software for the Evolis Primacy card printer
With the printer unpacked and ready to go, the next step is installing the necessary software to enable your computer to communicate with the Evolis Primacy card printer. The printer will come with an installation CD that contains the drivers required. Still, if your computer doesn’t have a CD drive or prefers the latest software version, you can download the drivers directly from the Evolis website. Navigate to the””Suppor”” or””Download”” section on the Evolis site and choose the correct drivers for your operating system (Windows, macOS, or Linux). The software package typically includes printer drivers and card design software like Evolis Badge Studio, which helps you design and personalize your cards before printing. After downloading the drivers, run the installer and follow the on-screen instructions.
During installation, the setup will prompt you to connect the Evolis Primacy card printer to your computer via the provided USB cable. This connection allows the software to recognize and configure the printer. After the installation, you may need to restart your computer to finalize the setup process. Test the printer with a simple task, such as printing a test page, to confirm the drivers installed successfully and the printer functions correctly.
Loading Cards into the Evolis Primacy Card Printer
Once the software installation is complete and your Evolis Primacy card printers are connected to your computer, it’s time to load the cards into the printer. The printer has a front-loading card hopper that can accommodate up to 100 blank cards, depending on their thickness. Loading the cards correctly is essential to ensure smooth feeding and high-quality prints.
Start by opening the card hopper on the printer’s front and placing your cards into the tray. Be sure to check the card type—whether PVC, composite, or different material—since the Evolis Primacy card printer is compatible with various card types. Adjust the card guides within the hopper to align the cards neatly and prevent jamming. Adjust the guides to fit snugly against the cards without applying excessive pressure that could cause bending or misalignment. After aligning the cards correctly and closing the hopper securely, proceed with printing. Handle the cards carefully to avoid fingerprints or dust on the surface, as these can interfere with the final output’s printing process and quality.
Install the Ribbon and Clean the Printer Regularly
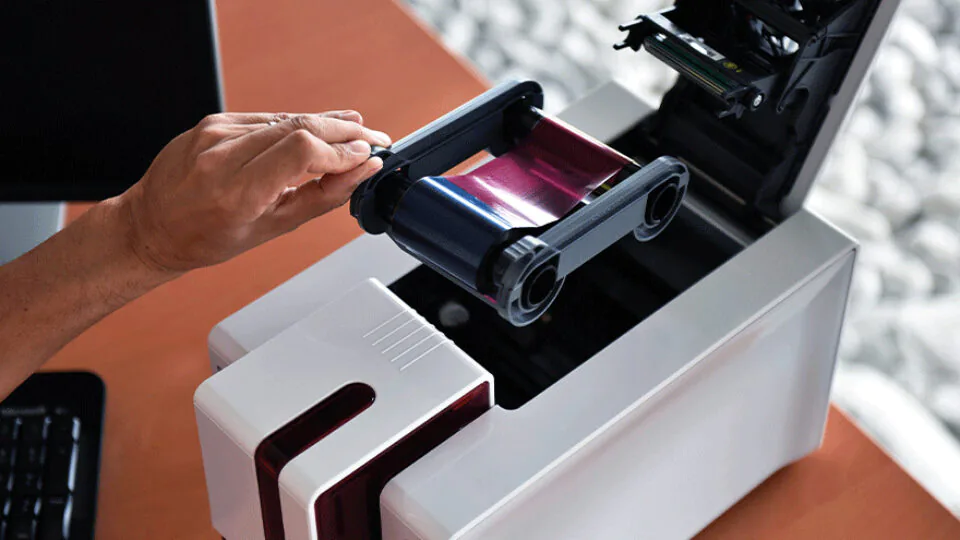
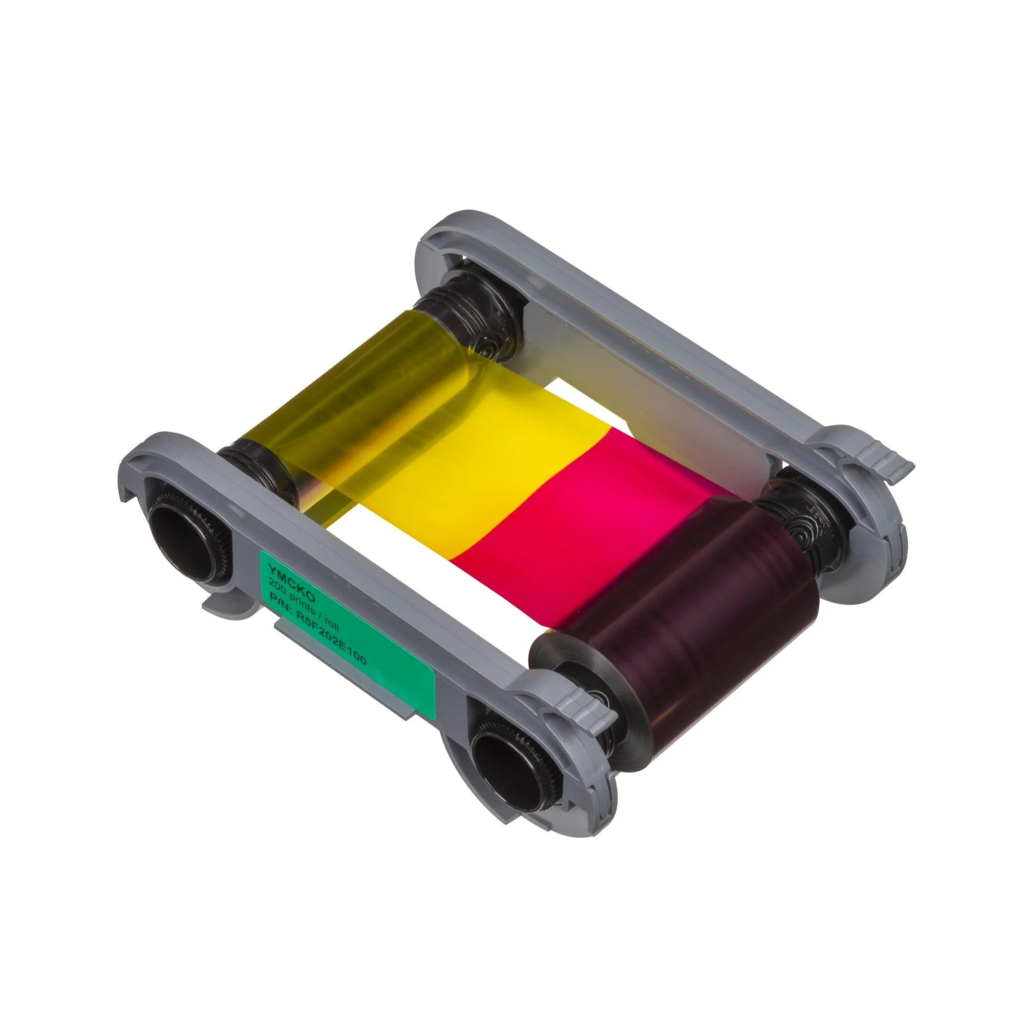
Next, you’ll need to install the print ribbon on your Evolis Primacy card printer. The ribbon is a critical printing component, containing the necessary ink to print text, images, and graphics onto your cards. The printer uses a dual-ribbon system with color ribbons (yellow, magenta, and cyan) for the image and text and a transparent overlay ribbon for protection. First, open the printer’s ribbon compartment to install the ribbon, usually just above the card hopper. Insert the color ribbon onto the left spindle and the overlay ribbon onto the right spindle. Align and seat the ribbons correctly into their spindles to avoid printing issues. After securing the ribbons in place, close the compartment. It is also an excellent time to clean the Evolis Primacy card printer to ensure optimal performance and print quality.
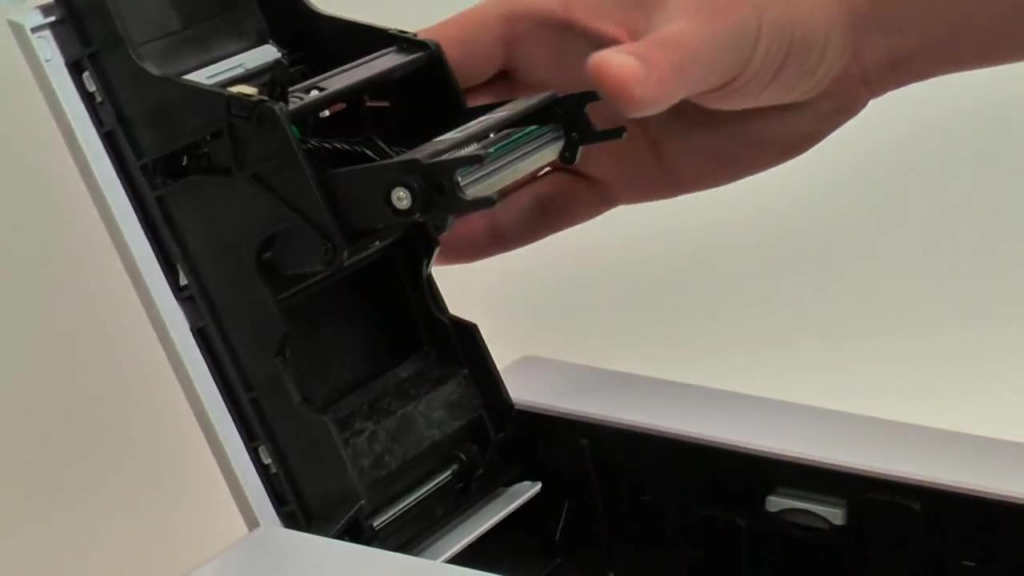
The printer typically comes with a cleaning kit with wipes and swabs for cleaning the printhead and other internal components. Cleaning the printhead regularly ensures that dust particles or debris do not interfere with printing and cause poor print quality. Follow the manufacturer’s cleaning instructions and perform this maintenance task when replacing the ribbon.
Configuring Printer Settings for Optimal Performance
Now that the Evolis Primacy card printer is physically set up with cards and ribbons in place, it’s time to configure the printer settings to match your desired output. The printer software you installed earlier includes a setup wizard that helps you configure the most critical printer settings, such as card size, thickness, and print resolution. The Evolis Primacy card printer allows single-sided and dual-sided printing so that you can choose the best option. Set the software to the correct mode and align the card design for both sides when printing double-sided cards.
You’ll also need to select the appropriate print quality settings. The Evolis Primacy card printer offers various resolutions (300 DPI being the standard) to ensure sharp, detailed prints for logos, photos, or text. Depending on the type of card you’re printing, you may also want to adjust the print speed. Faster printing speeds can sometimes sacrifice print quality so that you may opt for slower speeds for more complex designs or higher-quality outputs. After configuring the printer settings, it’s always a good idea to run a test print to check for alignment or color issues before starting large print jobs.
Running Test Prints and Fine-Tuning Settings
After configuring your printer and loading the necessary materials, it’s time to run your first test print. The test print will allow you to assess the quality of the print and determine whether any adjustments are needed. When creating a test print, use simple elements like text and graphics to verify the print’s color accuracy, clarity, and overall alignment. Check for any streaks, fading, or misalignment in the print job, as these may indicate issues with the printer setup. If the test print is satisfactory, proceed with printing your cards. If not, return to the settings menu and adjust parameters like print resolution, card feed, or printhead calibration.
Running test prints before starting a large batch of cards is always a good practice, as it helps save materials and time by ensuring that everything is set up correctly. In some cases, a slight adjustment in the software or the physical setup of the printer may be necessary to correct any issues. Properly install the ribbon and load the cards correctly before starting large print jobs to avoid wastage or printing errors.
Routine maintenance and troubleshooting
After configuring your printer and loading the necessary materials, it’s time to run your first test print. The test print will allow you to assess the quality of the print and determine whether any adjustments are needed. When creating a test print, use simple elements like text and graphics to verify the print’s color accuracy, clarity, and overall alignment. Check for any streaks, fading, or misalignment in the print job, as these may indicate issues with the printer setup. If the test print is satisfactory, proceed with printing your cards. If not, return to the settings menu and adjust parameters like print resolution, card feed, or printhead calibration.
Evolis recommends using a cleaning kit with the printer to clean internal parts regularly, such as the card rollers and printhead. This ensures high-quality print results and extends the lifespan of the printer. Additionally, periodically checking for software updates ensures you’re using the latest drivers and features, helping maintain compatibility with the latest operating systems and card design software. If the printer encounters any issues, such as card jams, poor print quality, or connectivity issues, consult the troubleshooting guide in the user manual or contact Evolis support for assistance. Routine maintenance and quick troubleshooting will help ensure that your Evolis Primacy card printer remains a reliable tool for your card printing needs for years.
Mastering the Evolis Primacy Card Printer Setup
Setting up your Evolis Primacy card printer is straightforward and, when done correctly, will ensure optimal performance and high-quality card printing. By carefully following the installation steps, selecting the suitable materials, and configuring the printer settings, you can begin quickly printing professional cards. With its user-friendly design and efficient operation, the Evolis Primacy is ready to meet your business needs, whether you’re printing employee IDs, membership cards, or other personalized cards. Properly setting up the printer can avoid common issues and maximize its potential, ensuring smooth, hassle-free card production for years.